
Woocommerce + openpos + Epson – EPOS Print
Woocommerce + openpos + Print with epson printer on LAN network. Applicable products: Built-in UB-R04/ wireless LAN(IEEE 802.11a/b/g/n) interface model: TM-T90,TM-T88V,TM-T88IV,TM-T70,TM-T70II,TM-L90,TM-U220 / Wireless LAN interface model: TM-P60II,TM-P60II with peeler, TM-P80.
Details
-
1.4
Version
-
07/12/2024 - 15:30:10.
Updated
-
anhvnit@gmail.com
Author
-
Support Service
License
For customers with support service non expired. - Downloaded 249
How to get "OpenPOS" Purchase code ?
This addon have no support service.

Woocommerce + openpos + Print with epson printer on LAN network. Applicable products: Built-in UB-R04/ wireless LAN(IEEE 802.11a/b/g/n) interface model:
- TM-T90
- TM-T88V
- TM-T88IV
- TM-T70
- TM-T70II
- TM-L90
- TM-U220
- Wireless LAN interface model: TM-P60II,TM-P60II with peeler,
- TM-P80.

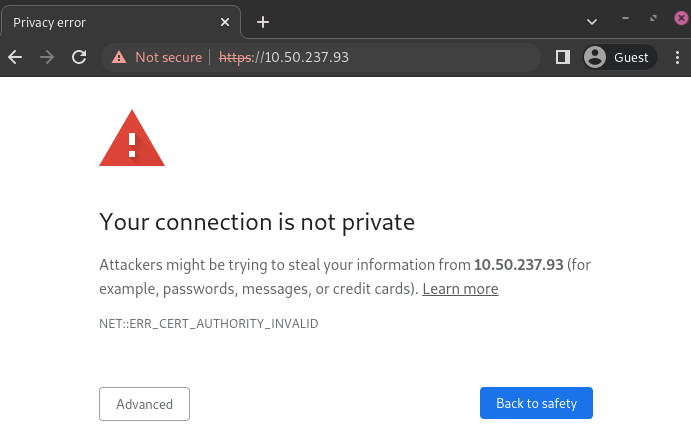
some models that can be used without an IoT box may require the HTTPS protocol to establish a secure connection between the browser and the printer. However, trying to reach the printer’s IP address using HTTPS leads to a warning page on most web browsers.
In that case, you can temporarily force the connection, which allows you to reach the page in HTTPS and use the ePOS printer in Openpos as long as the browser window stays open.
Generate a self-signed certificate
Navigate to the ePOS’ IP address (e.g., https://192.168.1.25) and force the connection by clicking Advanced and Proceed to [IP address] (unsafe).
Then, sign in using your printer credentials to access the ePOS printer settings. To sign in, enter epson in the ID field and your printer serial number in the Password field.
Click Certificate List in the Authentication section, and click create to generate a new Self-Signed Certificate. The Common Name should be automatically filled out. If not, fill it in with the printer IP address number. Select the years the certificate will be valid in the Validity Period field, click Create, and Reset or manually restart the printer.
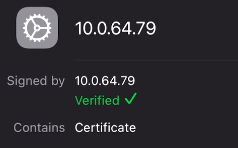
The self-signed certificate is generated. Reload the page and click SSL/TLS in the Security section to ensure Selfsigned Certificate is correctly selected in the Server Certificate section.
Export a self-signed certificate
The export process is heavily dependent on the OS and the browser. Start by accessing your ePOS printer settings on your web browser by navigating to its IP address (e.g., https://192.168.1.25). Then, force the connection as explained in the Generate a self-signed certificate tab.
If you are using Google Chrome,
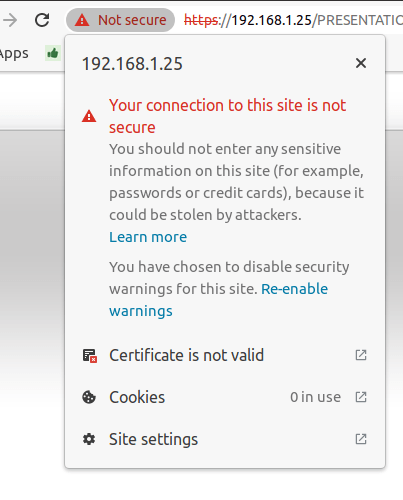
- click Not secure next to the search bar, and Certificate is not valid;
- go to the Details tab and click Export;
- add
.crtat the end of the file name to ensure it has the correct extension; - select Base64-encoded ASCII, single certificate, at the bottom of the pop-up window
- save, and the certificate is exported.
If you are using Mozilla Firefox,
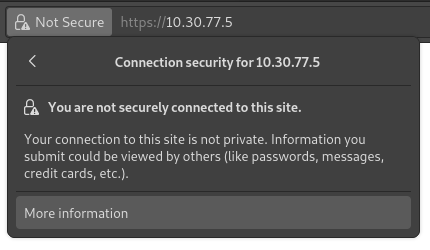
- click the lock-shaped icon on the left of the address bar;
- go to Connection not secure ‣ More information ‣ Security tab ‣ View certificate;
- scroll down to the Miscellaneous section;
- click PEM (cert) in the Download section;
- save, and the certificate is exported.
Import a self-signed certificate
The import process is heavily dependent on the OS and the browser.
Windows 10 manages certificates, which means that self-signed certificates must be imported from the certification file rather than the browser. To do so,
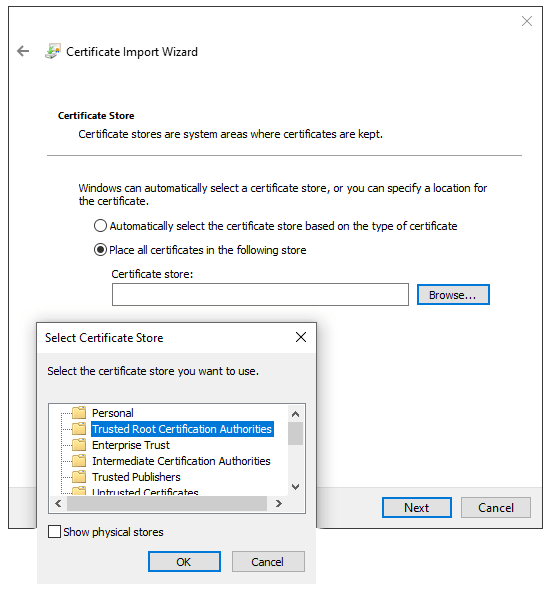
- open the Windows File Explorer and locate the downloaded certification file;
- right-click on the certification file and click Install Certificate;
- select where to install the certificate and for whom – either for the Current User or all users (Local Machine). Then, click Next;
- on the
Certificate Storescreen, tick Place all certificates in the following store, click Browse…, and select Trusted Root Certification Authorities; - click Finish, accept the pop-up security window;
- restart the computer to make sure that the changes are applied.
self-signed certificate on Android
To import an SSL certificate into an Android device, first create and export it from a computer. Next, transfer the .crt file to the device using email, Bluetooth, or USB. Once the file is on the device,
- open the settings and search for
certificate; - click Certificate AC (Install from device storage);
- select the certificate file to install it on the device.
self-signed certificate on IOS
To import an SSL certificate into an iOS device, first create and export it from a computer. Then, transfer the .crt file to the device using email, Bluetooth, or any file-sharing service.
Downloading this file triggers a warning pop-up window. Click Allow to download the configuration profile, and close the second pop-up window. Then,
- go to the Settings App on the iOS device;
- click Profile Downloaded under the user’s details box;
- locate the downloaded
.crtfile and select it; - click Install on the top right of the screen;
- if a passcode is set on the device, enter the passcode;
- click Install on the top right of the certificate warning screen and the pop-up window;
- click Done.
The certificate is installed, but it still needs to be authenticated. To do so,
- go to Settings ‣ General ‣ About > Certificate Trust Settings;
- enable the installed certificate using the slide button;
- click Continue on the pop-up window.
NOTE:
If you need to export SSL certificates from an operating system or web browser that has not been mentioned, search for export SSL certificate + the name of your browser or operating system in your preferred search engine.
Similarly, to import SSL certificates from an unmentioned OS or browser, search for import SSL certificate root authority + the name of your browser or operating system in your preferred search engine.
Generating an SSL certificate should only be done once. If you create another certificate, devices using the previous one will lose HTTPS access.